Horizontal Scrolling
With Admin Columns, there is no limit on how many columns you can add to a list table. The size of your screen (usually) does have a limit. But what if you want to display more columns than your screen can fit? That is where Horizontal Scrolling comes in! It has a clever way of adding a horizontal scrollbar to your admin overview while keeping all your content readable.
Every column has an optimal width that allows you to easily read the content. As you add more columns, things might start to look “squeezed in” and become less readable. As you can see below, Horizontal Scrolling solves this issue in an elegant way:
How to enable
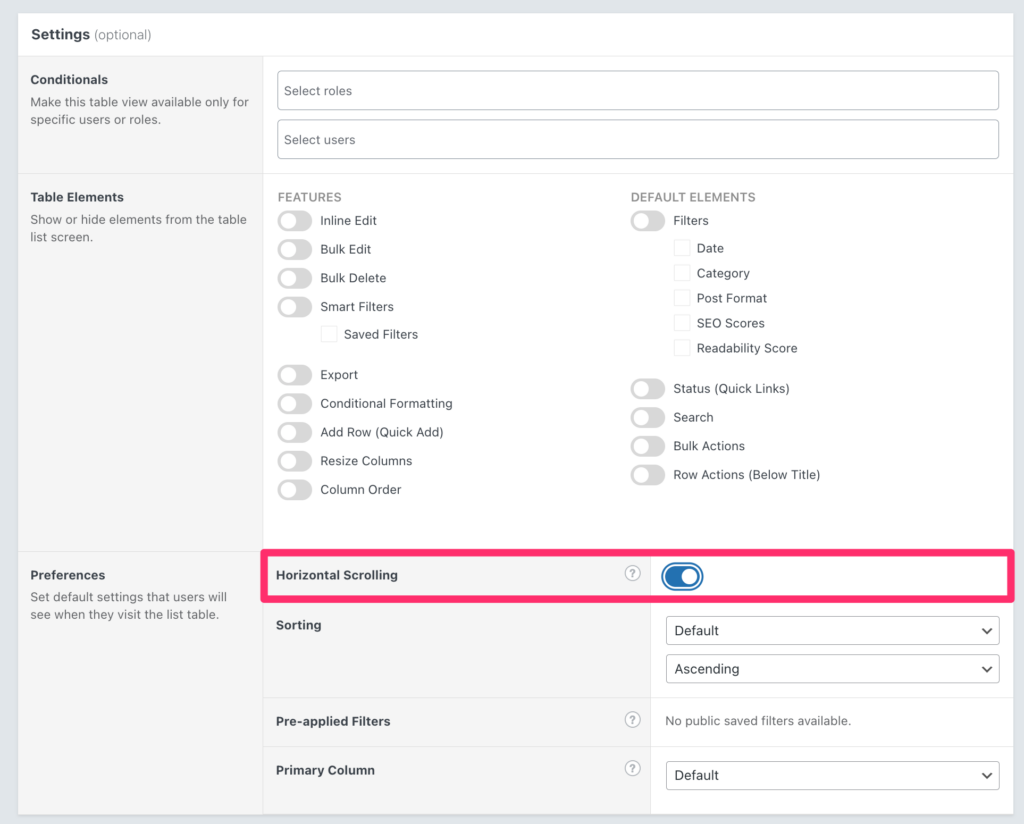
Horizontal Scrolling can be used on any list table where Admin Columns is active. To enable it, open the “Screen Options” on the top right and “Check” Horizontal Scrolling. The result should be visible immediately. To disable it again, simply “Uncheck” Horizontal Scrolling. Note: this is a preference that is stored only for the current user. If you want to enable it for all users, you can do this from the settings screen. Any user can still enable/disable Horizontal Scrolling for a list table, but it is enabled by “default” now:
How to use Horizontal Scrolling
Once you have enabled it, you can swipe left or right on the list table or use the mouse to slide the horizontal scrollbar, which should be visible at the bottom. You should be able to browse all your columns. If your columns already fitted the screen before, you won’t see much of a difference when Horizontal Scrolling is enabled. And for those who do not have a touchpad, holding “Shift” on your keyword usually inverts the scroll wheel of your mouse to move horizontally (instead of vertically).
It’s worth noting that Horizontal Scrolling works great in conjunction with Table Views and Sticky Headers. This information can also be found in our documentation.